When your Zoom virtual background is not working five minutes before a call, you do not want a 3,000-word lecture. You want the specific fix. Almost every virtual background failure falls into one of a few buckets: the background will not show at all, you get a green-screen error, your logo looks backwards, or the Add new button is missing. This guide walks through each one with calm, tested steps for Zoom, Microsoft Teams, and Google Meet.
Background Not Showing or a Green-Screen Error
This is the big one. The video effects panel is empty, the background will not apply, or you get a green-screen warning even though you do not own a green screen. Work through these in order. The first match usually solves it.
- Turn off the green-screen toggle. In Zoom, open Settings, then Background & Effects, and uncheck I have a green screen. When that box is checked, Zoom tries to key out a single background color. With no real green screen behind you, it fails and your background breaks. This is the most common cause of a Zoom background green screen not working.
- Enable the feature in your web portal. On managed Zoom accounts, virtual backgrounds can be switched off at the account level. Sign in at the Zoom web portal, open Settings, find Virtual Background under the meeting tab, and turn it on. Then sign out of the desktop app and back in so the change takes effect.
- Update the app. Older builds handle background effects differently or not at all. Update Zoom, Teams, or your browser to the latest version, then restart it fully.
- Disable hardware acceleration. If the preview flickers or refuses to load, a graphics-driver conflict is often the culprit. In Zoom, go to Settings, then Video, open Advanced, and toggle the hardware acceleration options off. Restart and test again.
- Improve your front lighting. The processor needs to tell you apart from the wall behind you. A dim room or strong backlight makes that hard. Add a lamp in front of you and the effect usually snaps into place.
My Logo Is Mirrored or Backwards
You upload a clean branded background, and your company name reads backwards on screen. Before you re-export anything, take a breath: in most cases nothing is actually wrong with your file.
Zoom and Teams both mirror your self-view by default. That flip is cosmetic and applies only to the preview you see of yourself. Everyone else on the call sees your logo the correct way around. So a teams background with a reversed or backwards logo is almost always a mirrored preview, not a broken image.
How to fix the mirrored preview
- Zoom: open Settings, then Video, and uncheck Mirror my video. Your self-view now matches what others see, and the text reads correctly for you too.
- Teams: there is no mirror toggle. If the flipped preview genuinely bothers you, open the image in any editor, flip it horizontally, and upload that version. Your view looks right, while others see a harmless mirror. This is a personal-comfort fix, not a requirement.
- Google Meet: Meet does not mirror the background to other participants either, so a backwards self-preview is, again, just your own view.
There is a deeper reason this anxiety keeps coming back: flat logo overlays are pure text and shapes, so a mirror instantly looks wrong. A logo rendered as a real, dimensional sign in the room reads as part of the scene. It carries depth, shadow, and perspective, so a casual glance does not trip the same alarm. That is one reason a virtual background mirrored fix is rarely needed when the logo lives inside the room instead of floating on top of it.
The Add New Button Is Missing
You found the background panel, but there is no way to upload your own image. The Add new option is gone. This one is almost always environmental, not a bug in your file.
- You are on the web app. The Teams web client does not support custom background uploads at all. Switch to the Teams desktop app, where the Add new button lives in the video effects panel. This single fact explains most missing-button reports.
- Your camera is off. In Teams and Meet, turn your camera on at the pre-join screen first. The background controls often stay hidden until the camera feed is live.
- An admin policy blocks uploads. In a managed Microsoft 365 or Google Workspace tenant, IT can disable custom backgrounds. If the option is greyed out or absent on the desktop app, the answer is to ask your admin, not to reinstall.
- Google Meet uploads are off until enabled. Workspace admins control whether members can upload their own backgrounds. Until that is switched on, you only see Google's built-in images.
If custom backgrounds are allowed in Teams but the upload still will not cooperate, there is a manual fallback. Close Teams, drop your image into the Teams Backgrounds and Uploads folder on your machine, then reopen the app. The image appears in your gallery. Treat this as a workaround and try the in-app steps first.
Choppy Edges Around Your Hair and Shoulders
The background loads, but the outline around your head shimmers and your hair gets nibbled away. This is segmentation: your webcam software is guessing where you end and the room begins. You can make that guess much easier.
- Light your face from the front. Place a lamp or window roughly at a 45-degree angle in front of you. Even, front-facing light gives the software a clear subject to lock onto.
- Avoid a bright window behind you. Backlighting turns you into a dark silhouette, which is exactly what wrecks edge detection. Move so the bright source is in front, not behind.
- Wear solid colors that contrast the wall. A plain shirt that stands apart from your real background cuts down on the edge-chewing. Busy patterns confuse the cutout.
- Hold reasonably still. Fast gestures and leaning in and out give the processor more to track. Smooth, calm movement looks cleaner on camera.
There is a content angle here too. A realistic, properly lit office scene hides minor edge artifacts far better than a flat, high-contrast template. When the background already looks like a real room, your eye forgives a soft edge. A cartoonish gradient with a pasted logo makes every flaw obvious.
When the Fix Is a Better File
Trace these problems back far enough and a surprising number start with the image itself. A low-resolution photo gets rejected or stretched. A wrong aspect ratio gets cropped, so your logo lands off-screen. A logo pasted into a corner vanishes the moment the platform reframes the layout.
A correctly built background avoids all of that. Aim for these specs no matter which platform you use:
- 1920x1080 pixels at 16:9. This is the native size for Zoom, Teams, and Meet, so the image fills the frame without stretching or letterboxing.
- JPEG under about 2MB. Teams in particular caps file size, so a JPEG at 85 to 90 percent quality uploads cleanly and still looks sharp on camera.
- Edge-safe placement. Keep your logo or sign inside the central 80 percent of the frame so no layout crops it out.
This is exactly the problem LogoWalls solves. You pick a professional office scene, upload your logo, and we render it into the room as a real dimensional sign, matched to that room's perspective and lighting. You get back a ready-to-upload 1920x1080 HD file built to the specs above, so there is no stretching, no rejection, and no corner logo to lose.
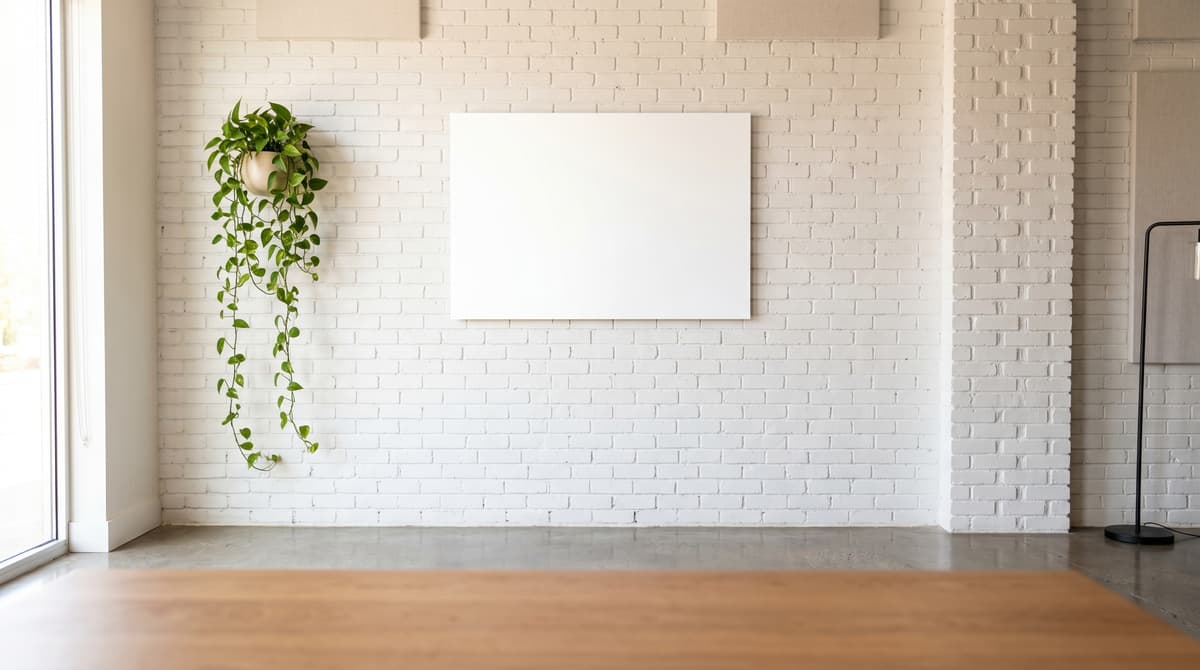
If you want something bright and approachable, the White Brick Studio scene reads warm and current on camera, with plenty of clean wall space for a logo to sit as a real sign rather than a flat overlay that mirrors and crops.
One File, Every Platform
Because a virtual background is a standard 1920x1080 16:9 image, the same properly built file works across Zoom, Teams, and Google Meet. Fix it once, upload it to each platform's background settings, and your brand stays consistent no matter where the meeting happens. Most of the time, the real fix for a virtual background that will not work is starting from a clean, correctly sized image in the first place.